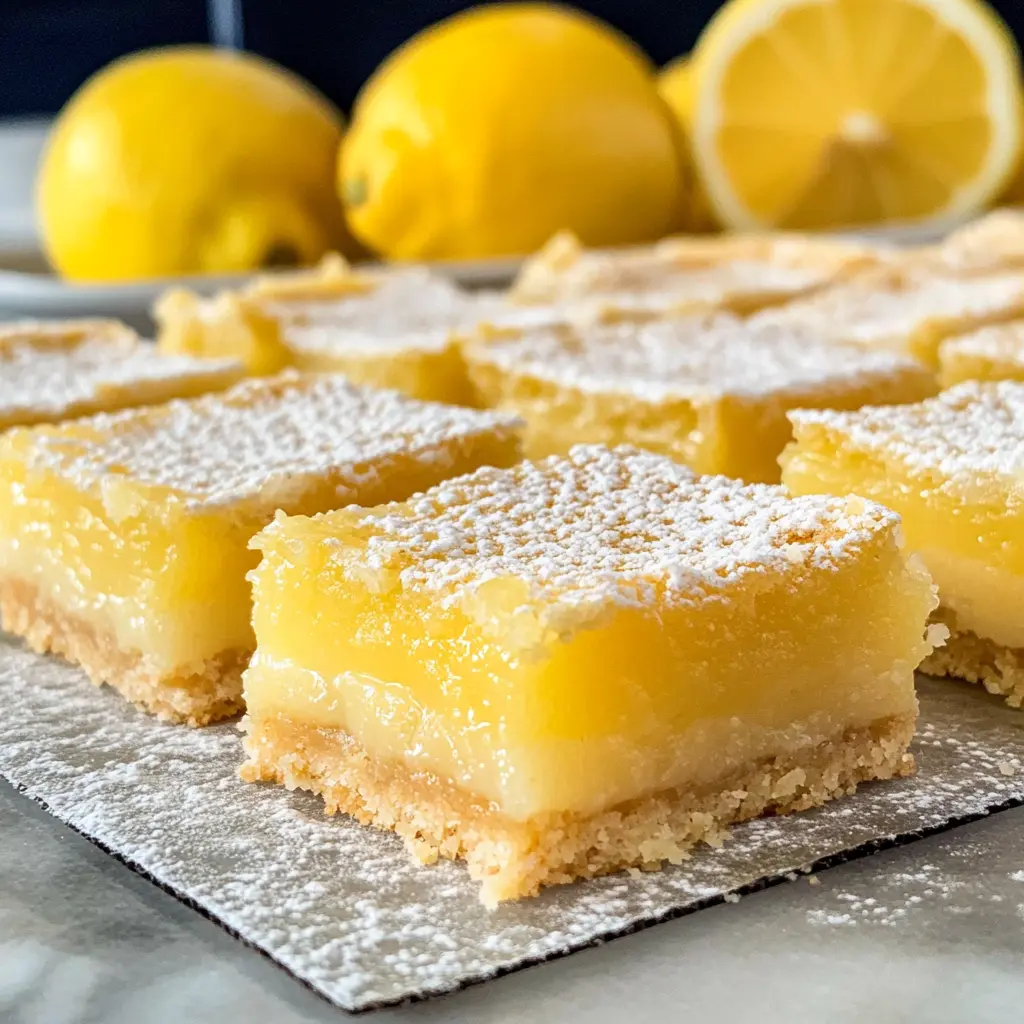
These bright and zesty lemon bars are a gluten-free treat bursting with fresh lemon flavor! They have a smooth filling on a simple crust that is rich and buttery.
I love how these lemon bars are so easy to make, and they always bring a smile to my face. They’re perfect for sharing or enjoying as a sweet pick-me-up! 🍋😊
Key Ingredients & Substitutions
Gluten-Free All-Purpose Flour: A must for these bars, this flour blends well for structure. If you don’t have it, you can use almond flour for a different texture, but be aware that it may not hold as well.
Powdered Sugar: This sugar adds sweetness and a smooth texture to both the crust and the topping. If you need a sugar alternative, try using coconut sugar, but it may darken the color slightly.
Unsalted Butter: I like unsalted butter for better control over the salt level, but if you’re dairy-free, coconut oil is a great substitute here. It will add a hint of coconut flavor!
Lemon Juice and Zest: Freshly squeezed juice makes a big difference in flavor. If fresh lemons aren’t available, bottled lemon juice is okay but won’t be as vibrant. The zest adds aromatic oils that intensify the lemon taste.
How Do I Make Sure My Lemon Filling Is Smooth and Set?
The lemon filling needs careful whisking and baking to achieve that perfect texture. Start by thoroughly mixing the dry ingredients (sugar, gluten-free flour, baking powder) before adding the eggs.
- Add eggs one by one, whisking well each time to incorporate air which helps the filling set.
- After adding lemon juice and zest, stir until smooth. Be sure there’s no dry flour left.
- When baking, check for a soft but firm center. The edges should be set, so don’t overbake!
With these tips, your lemon bars should turn out perfectly delicious! Enjoy those bright, fresh flavors!

How to Make Easy Gluten-Free Lemon Bars
Ingredients You’ll Need:
For the Crust:
- 1 cup gluten-free all-purpose flour
- ½ cup powdered sugar
- ½ cup unsalted butter, softened
- ¼ teaspoon salt
For the Lemon Filling:
- 1 cup granulated sugar
- ¼ cup gluten-free all-purpose flour
- ½ teaspoon baking powder
- 3 large eggs
- ½ cup freshly squeezed lemon juice (about 2-3 lemons)
- Zest of 1 lemon
- Powdered sugar, for dusting
- Fresh blueberries and lemon slices, for garnish (optional)
How Much Time Will You Need?
This delightful recipe takes about 15 minutes for preparation, plus an additional 35-43 minutes for baking. You’ll want to set aside at least 2 hours for the lemon bars to chill in the refrigerator after baking. In total, plan for around 3 hours to make these tasty treats, but most of that time is just waiting as your lemon bars cool and set up!
Step-by-Step Instructions:
1. Preheat and Prepare the Pan:
First, preheat your oven to 350°F (175°C). While it’s heating up, grease an 8×8-inch baking pan or line it with parchment paper. This will help with easy removal of the lemon bars once they’re ready!
2. Make the Crust:
In a mixing bowl, combine the gluten-free flour, powdered sugar, softened butter, and salt. Use a fork or a pastry cutter to mix everything together until it looks like coarse crumbs. Press this mixture evenly into the bottom of your prepared baking pan.
3. Bake the Crust:
Place the pan in the preheated oven and bake for about 15-18 minutes, or until the crust is lightly golden. Once done, take it out and let it cool slightly while you prepare the filling.
4. Whisk Together the Lemon Filling:
In a separate bowl, whisk together the granulated sugar, gluten-free flour, and baking powder until everything is combined. Then, add the eggs one at a time, making sure to whisk well after each addition. Finally, mix in the freshly squeezed lemon juice and lemon zest until the mixture is smooth and creamy.
5. Combine Filling and Crust:
Pour the lemon filling over the slightly cooled crust, using a spatula to spread it evenly across the top. This way, every bite will be full of zesty flavor!
6. Bake the Bars:
Return the pan to the oven and bake for another 20-25 minutes. You want the filling to be set and the edges to turn a lovely light golden color.
7. Cool and Chill:
After baking, let your lemon bars cool in the pan at room temperature. Once they’re cool enough, pop the pan into the refrigerator for at least 2 hours. This chilling time helps the bars to set up perfectly!
8. Serve and Enjoy:
Before serving, dust the top of the lemon bars with powdered sugar for a sweet finishing touch. If you’d like, you can also garnish with fresh blueberries and lemon slices to make them look extra special. Cut into squares and enjoy the refreshing zing of your easy gluten-free lemon bars!

Can I Use Regular Flour Instead of Gluten-Free Flour?
While this recipe is designed to be gluten-free, you can use regular all-purpose flour if you’re not concerned about gluten. Just keep in mind that the texture may be slightly different, and you may need to adjust the baking time as gluten flours can behave differently in recipes.
Can I Substitute the Eggs in This Recipe?
Absolutely! If you need an egg substitute, consider using 1/4 cup of unsweetened applesauce or 1/4 cup of silken tofu blended until smooth for each egg. This will help maintain moisture and binding without compromising the flavor too much.
How Should I Store Leftover Lemon Bars?
Store any leftover lemon bars in an airtight container in the fridge for up to 5 days. If you prefer them to last a bit longer, you can freeze them for up to 3 months. Just make sure to wrap them tightly to prevent freezer burn, and thaw in the fridge before serving.
Can I Add Other Flavors to the Lemon Filling?
Yes! If you’re feeling adventurous, you can add different flavors like a teaspoon of vanilla extract or a tablespoon of fresh ginger juice for a zesty twist. Just be sure not to overpower the lemon flavor, as it should still be the star of the dessert!